
Welcome! This user manual guides you through your Full HD Car DVR 1080p, ensuring optimal performance and a seamless experience with its features․
What is a Full HD Car DVR?
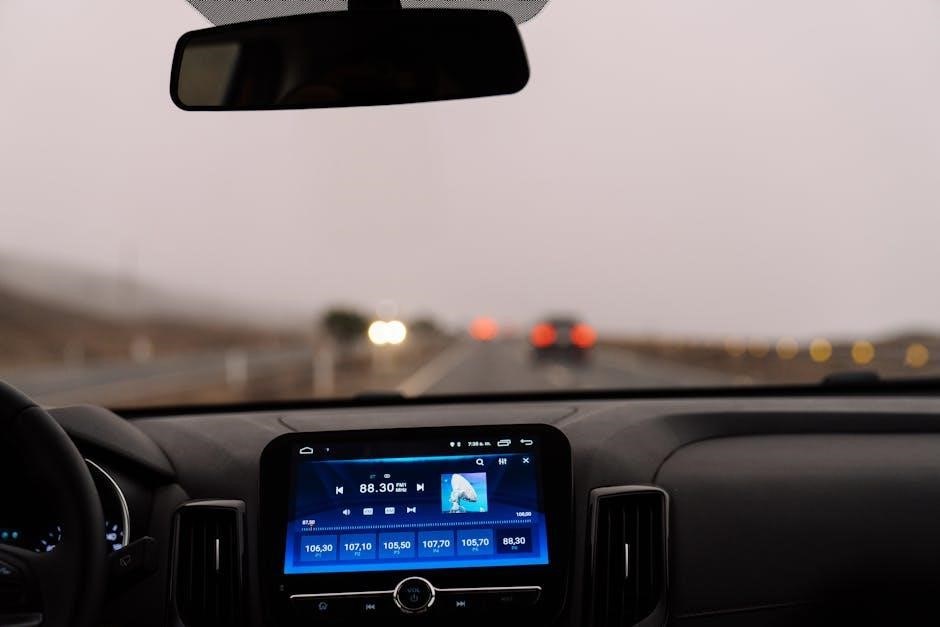
A Full HD Car DVR (Digital Video Recorder), often called a dash cam, is a device designed to continuously record video footage while you drive․ It serves as an independent witness in case of accidents, providing valuable evidence for insurance claims or legal proceedings․ This particular model boasts 1080p resolution, delivering clear and detailed recordings of your journeys․
Unlike standard definition cameras, Full HD captures significantly more detail, making license plates, road signs, and other crucial elements easily identifiable․ Modern DVRs often include features like G-sensor technology for impact detection, loop recording to automatically overwrite older footage, and parking monitoring for security while your vehicle is unattended․ This manual will guide you through utilizing all these capabilities․
Why Choose a 1080p Resolution?
Opting for a 1080p resolution in your car DVR is a crucial decision for capturing clear, detailed footage․ Compared to lower resolutions, 1080p (1920×1080 pixels) provides a significantly sharper image, ensuring crucial details like license plates, street signs, and facial features are easily discernible in recorded videos․ This clarity is paramount when reviewing footage after an incident․
Higher resolution translates directly to better evidence quality, potentially strengthening insurance claims or assisting in legal investigations․ While higher resolutions exist, 1080p strikes an excellent balance between image quality, storage space requirements, and processing power․ This manual will help you optimize your 1080p DVR for the best possible recording experience․
Unboxing and Components
Carefully unpack your Full HD Car DVR 1080p․ Verify all listed components are present, referencing the included parts list within this manual․
DVR Unit Overview
Let’s explore the DVR unit itself․ The front houses the wide-angle lens, capturing the road ahead in stunning 1080p Full HD․ On top, you’ll find the power button, initiating recording or standby mode․ The side features a MicroSD card slot – essential for storing your footage; ensure compatibility as detailed in the specifications․
Along the rear, a Mini-USB port facilitates power connection and data transfer to your computer․ A built-in speaker allows for audio recording and playback of events․ The reset pinhole is crucial for troubleshooting, restoring factory settings if needed․ Finally, the unit’s ventilation slots prevent overheating during prolonged use․ Familiarize yourself with these key components for optimal operation and maintenance, as outlined in this manual․
Mounting Bracket and Accessories
Included in the box, alongside the DVR unit, is a robust suction cup mounting bracket․ This bracket securely attaches to your windshield, providing a stable recording platform․ A USB Mini-B cable enables power connection and data transfer to your computer for footage review․ Several cable clips are provided to neatly route the power cable along your vehicle’s interior, preventing obstructions․
You’ll also find a car charger adapter for convenient power via the cigarette lighter socket․ A user manual, like this one, offers detailed instructions․ Finally, extra adhesive pads for the mounting bracket ensure a strong, lasting hold․ Verify all components are present before proceeding with installation, referencing the parts list within this manual․
Installation and Setup
Proper installation is key for optimal performance․ This section details mounting, power options, and memory card setup for your new Full HD Car DVR 1080p․
Mounting the DVR in Your Vehicle
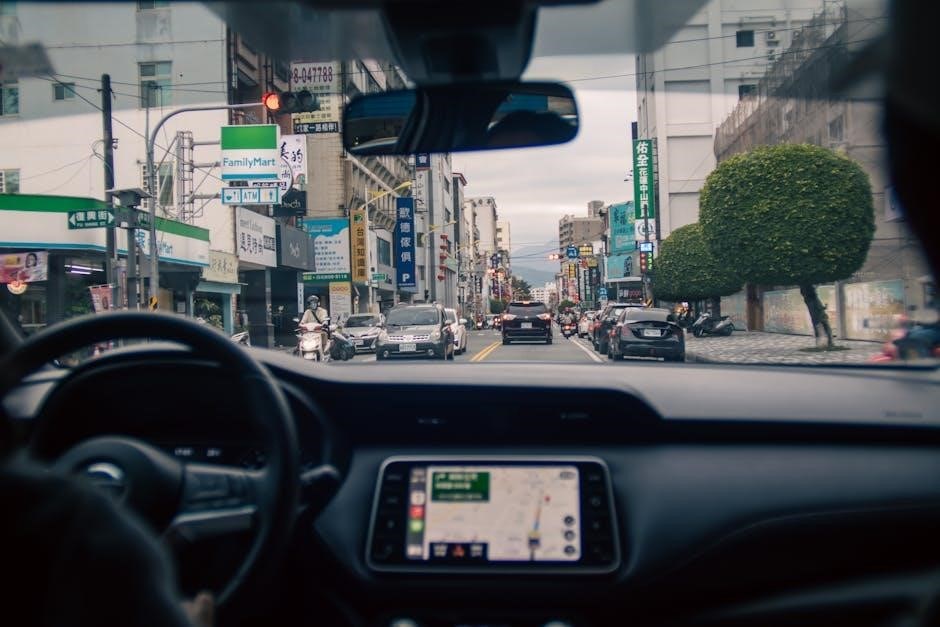
Securely mounting your Full HD Car DVR 1080p is crucial for optimal recording and stability․ Begin by selecting a mounting location on your windshield that doesn’t obstruct your view of the road․ Ensure the surface is clean and dry before attaching the suction cup mount․
Carefully press the suction cup firmly against the windshield to create a strong seal․ Adjust the angle of the DVR to capture the desired field of view – typically facing forward to record the road ahead․ Avoid direct sunlight exposure, as it can affect video quality․
Periodically check the mount’s security, especially during temperature fluctuations․ A loose mount can lead to blurry footage or the DVR falling during operation․ Proper positioning ensures clear and reliable recordings․
Power Connection – Cigarette Lighter vs․ Hardwiring
Powering your Full HD Car DVR 1080p offers two primary methods: via the cigarette lighter socket or through hardwiring to the vehicle’s electrical system․ The cigarette lighter option is simpler, providing quick installation and removal․ However, it consumes power even when the car is off, potentially draining the battery․
Hardwiring, on the other hand, connects directly to the car’s fuse box, offering a cleaner installation and enabling parking mode functionality․ This requires more technical expertise and careful fuse selection․ Always consult a professional if unsure about hardwiring procedures․
Consider your needs and comfort level when choosing a power source․ Parking mode requires a consistent power supply, making hardwiring the preferred choice․
Memory Card Installation and Formatting
To ensure optimal performance of your Full HD Car DVR 1080p, a compatible microSD card is essential․ This DVR supports cards up to [Specify Max Capacity ౼ e․g․, 128GB]․ Gently insert the microSD card into the designated slot, ensuring it clicks securely into place․ Do not force the card․
Before first use, formatting the memory card within the DVR’s settings is crucial․ This prepares the card for recording and optimizes compatibility․ Formatting erases all existing data, so back up any important files beforehand․ Access the formatting option through the DVR’s menu, following the on-screen prompts․
Regularly format the card to maintain recording reliability․

Basic Operation
Start recording effortlessly with a simple power button press! Explore continuous, event-triggered, and manual recording modes for comprehensive coverage and peace of mind․
Powering On/Off the DVR
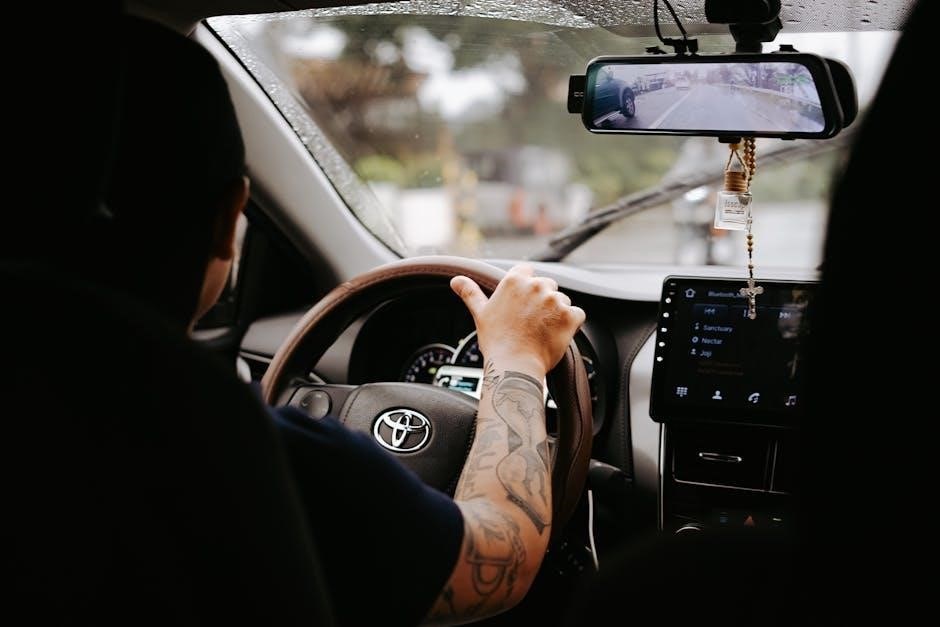
Initiating Operation: To power on your Full HD Car DVR, simply press and hold the power button, typically located on the side or rear of the unit, for approximately two seconds․ You’ll observe a startup sequence displayed on the LCD screen, indicating the device is initializing․ A readiness indicator, often a light or screen display, will confirm when recording is active․
Safe Shutdown: To power off the DVR, repeat the process – press and hold the power button for two seconds․ Avoid abruptly disconnecting the power source while recording, as this could potentially corrupt the video file currently being saved․ Always ensure a proper shutdown to maintain data integrity and prolong the lifespan of your device․ A confirmation message will appear on the screen․
Recording Modes – Continuous, Event, Manual
Continuous Recording: This is the default mode, automatically recording video footage while the vehicle is powered on․ It ensures constant surveillance of your driving environment, capturing every moment of your journey․ Footage is typically overwritten on a loop when the memory card is full․
Event Recording (G-Sensor Triggered): Activated by the built-in G-sensor, this mode automatically saves and protects footage upon detecting sudden impacts or sharp braking․ These “event” files are shielded from loop recording, preserving crucial evidence․
Manual Recording: Allows you to initiate recording with a single button press, useful for capturing specific incidents or points of interest not automatically detected by the G-sensor․
Adjusting Recording Settings (Resolution, Quality)
Resolution: Your DVR supports 1080p Full HD recording, offering clear and detailed video․ Lower resolutions (720p) can be selected to conserve storage space, but will reduce image clarity․ Access resolution settings via the main menu․
Video Quality: Adjust the video quality to balance file size and detail․ Higher quality settings result in larger files but capture more information․ Options typically include ‘High’, ‘Medium’, and ‘Low’․ Experiment to find the best setting for your needs․
Bitrate: Controls the amount of data used per second of video․ Higher bitrates improve quality but increase file size․ Adjust this setting alongside resolution and quality for optimal results․

Advanced Features
Explore enhanced capabilities! This section details the G-sensor, loop recording, and parking monitoring features for comprehensive protection and convenience․
G-Sensor Functionality and Impact Detection
Understanding the G-Sensor: Your Full HD Car DVR 1080p is equipped with a G-Sensor, or gravity sensor, a crucial feature for incident recording․ This sensor detects sudden impacts or movements, such as collisions or harsh braking․ When triggered, the G-Sensor automatically locks and saves the current video footage, preventing it from being overwritten by loop recording․
Sensitivity Adjustment: The G-Sensor’s sensitivity is adjustable within the DVR’s settings․ Higher sensitivity means it will trigger more easily, while lower sensitivity requires a more significant impact․ Experiment to find the optimal setting for your driving conditions․ Properly configured, it safeguards vital evidence in case of an event․
File Protection: Locked files, protected by the G-Sensor, are typically stored in a separate folder within the memory card, ensuring their preservation․ Review these files regularly for potential incidents․
Loop Recording Explained
Continuous Recording Without Limits: Loop recording is a vital function of your Full HD Car DVR 1080p, enabling continuous recording without exhausting the memory card’s capacity․ Once the memory card is full, the DVR automatically overwrites the oldest footage with new recordings, ensuring you always have the latest events captured․
Customizable Segment Lengths: You can customize the recording segment length (e․g․, 1 minute, 3 minutes, 5 minutes) within the DVR’s settings․ Shorter segments mean more frequent overwriting, while longer segments provide fewer files but require more storage space․
Event File Protection: Importantly, loop recording does not overwrite files locked by the G-Sensor․ These crucial event recordings remain protected, even when loop recording is active, providing vital evidence when needed․
Parking Monitoring Mode Setup
Enhanced Security While Parked: Parking monitoring mode utilizes the DVR’s G-sensor to detect impacts or motion while your vehicle is parked and the ignition is off․ This feature provides an extra layer of security, capturing potential incidents even when you’re away․
Power Source Requirement: To enable parking monitoring, a constant power source is required – typically achieved through a hardwiring kit connected to your vehicle’s battery․ Using the cigarette lighter socket won’t work, as the DVR needs continuous power․
Sensitivity Adjustment: Adjust the G-sensor sensitivity within the DVR’s settings to fine-tune the detection level․ Higher sensitivity detects even minor bumps, while lower sensitivity requires more significant impact․
Navigating the Menu and Settings
Explore Customization: The intuitive menu system allows you to personalize settings like resolution, date/time, and display options for an optimized user experience․
Menu Structure Overview
Understanding the Interface: The main menu of your Full HD Car DVR 1080p is logically organized for easy navigation․ Typically, you’ll find sections dedicated to Recording Settings, allowing adjustments to resolution, video quality, and loop recording duration․ A System Settings area manages date and time configurations, language preferences, and display brightness․
Device Settings often include options for G-sensor sensitivity and parking monitoring․ The Playback menu provides access to recorded footage, enabling review and deletion of files․ Familiarizing yourself with this structure is key to unlocking the full potential of your DVR․ Use the directional buttons and the ‘OK’ button to select and confirm your choices within each menu․
Date and Time Settings
Accurate Timestamps are Crucial: Correct date and time settings are essential for accurate event logging and proper video file organization within your Full HD Car DVR 1080p․ Access the ‘Date & Time’ menu through the main settings interface․ Here, you can manually input the current date and time, or, if supported, enable automatic synchronization via GPS․
Ensure the time zone is correctly configured to match your location․ Incorrect settings can lead to misleading timestamps on recorded footage․ Regularly verify these settings, especially after power outages or battery replacements, to maintain accurate records․ Proper timekeeping is vital for legal and insurance purposes․
Language and Display Settings
Personalize Your Experience: The ‘Language & Display’ menu allows you to customize the DVR’s interface for optimal usability․ Select your preferred menu language from the available options, ensuring clear understanding of all settings and functions․ Adjust display brightness and contrast levels to suit varying lighting conditions, enhancing visibility during both day and night․
You can also configure screen timeout duration to conserve battery power when the device is idle․ Some models offer the option to toggle display information, such as date, time, and speed, on or off․ These settings contribute to a tailored and comfortable user experience․
Troubleshooting Common Issues
Facing problems? This section provides solutions for frequent issues like power failures, recording errors, and memory card malfunctions, ensuring smooth operation․
DVR Not Powering On
Problem: Your Full HD Car DVR 1080p fails to power on, preventing recording and functionality․ First, verify the power connection – ensure the cigarette lighter adapter is firmly inserted into both the vehicle’s socket and the DVR․ If using hardwiring, check the fuse box for a blown fuse related to the DVR’s power source․
Solution: Try a different cigarette lighter socket to rule out a faulty port․ For hardwired installations, inspect the wiring for any loose connections or damage․ Confirm the DVR’s power button is fully engaged․ If the issue persists, attempt a reset by briefly disconnecting and reconnecting the power source․ Consult the PDF manual for specific fuse ratings and wiring diagrams if needed․ A completely drained battery can also prevent powering on․

Recording Issues (No Video, Choppy Video)
Problem: Experiencing issues with video recording – either no video is captured, or the footage appears choppy and fragmented․ This can stem from several factors impacting the DVR’s performance․

Solution: First, ensure a compatible and properly formatted microSD card is installed (refer to the PDF manual for supported card types and capacities)․ Verify sufficient storage space remains on the card․ Check the lens for obstructions like dirt or fingerprints․ Adjust the resolution and quality settings; lower settings require less processing power․ If using loop recording, ensure it’s enabled correctly․ A faulty cable or power supply can also cause recording interruptions․ Consult the manual for troubleshooting steps and firmware updates․
Memory Card Errors
Issue: The DVR displays errors related to the memory card, such as “Card Error,” “Card Full,” or fails to recognize the card altogether․ This prevents recording and accessing previously saved footage․
Troubleshooting: Refer to your Full HD Car DVR 1080p manual’s PDF for compatible microSD card specifications (capacity, speed class)․ Ensure the card is correctly inserted and not damaged․ Try reformatting the card within the DVR’s menu (data will be erased!)․ If the error persists, test with a different, known-good microSD card․ A corrupted card may require replacement․ Avoid removing the card during operation․ The manual details specific error codes and their solutions․

PDF Manual Resources and Downloads
Access the comprehensive PDF manual online for detailed instructions, troubleshooting, and specifications regarding your Full HD Car DVR 1080p․
Finding the Official PDF Manual
Locating the official PDF manual for your Full HD Car DVR 1080p is crucial for maximizing its functionality and resolving any potential issues․ Typically, the manufacturer’s website is the primary source․ Search for your specific DVR model number on their support or downloads section․ Alternatively, a quick web search using terms like “Full HD Car DVR 1080p manual PDF” will often yield direct links to the downloadable file․
Be cautious of third-party websites offering manuals, as they may contain outdated or inaccurate information․ Always prioritize the official source to ensure you have the most reliable guidance․ The PDF manual provides a complete overview of the device’s features, setup instructions, troubleshooting tips, and safety precautions․
Understanding Manual Sections
The Full HD Car DVR 1080p manual PDF is structured to guide you systematically․ Expect sections covering initial setup – mounting, power connection, and memory card formatting․ A dedicated portion details basic operation, explaining recording modes (continuous, event, manual) and adjusting settings like resolution and quality․
Advanced features, such as G-sensor functionality, loop recording, and parking monitoring, will have their own detailed explanations․ A menu navigation section clarifies how to access and modify settings like date, time, and display preferences․ Finally, a crucial troubleshooting section addresses common issues like power failures, recording problems, and memory card errors, offering solutions for each․