To begin with, the instructions for Barkan TV mounts are designed to be user-friendly and easy to follow, using simple language and clear diagrams to ensure a successful installation process always.
Overview of the Installation Process
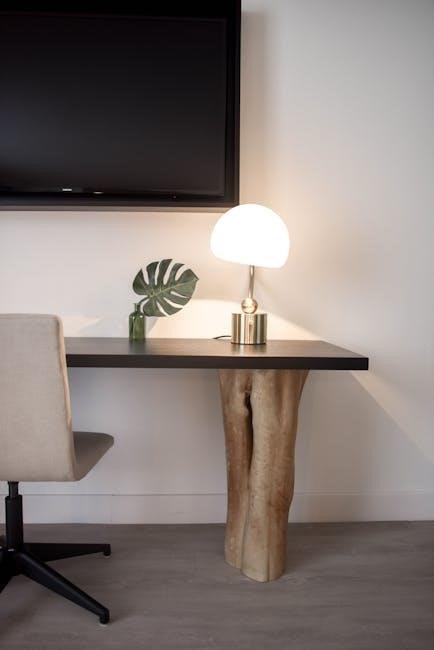
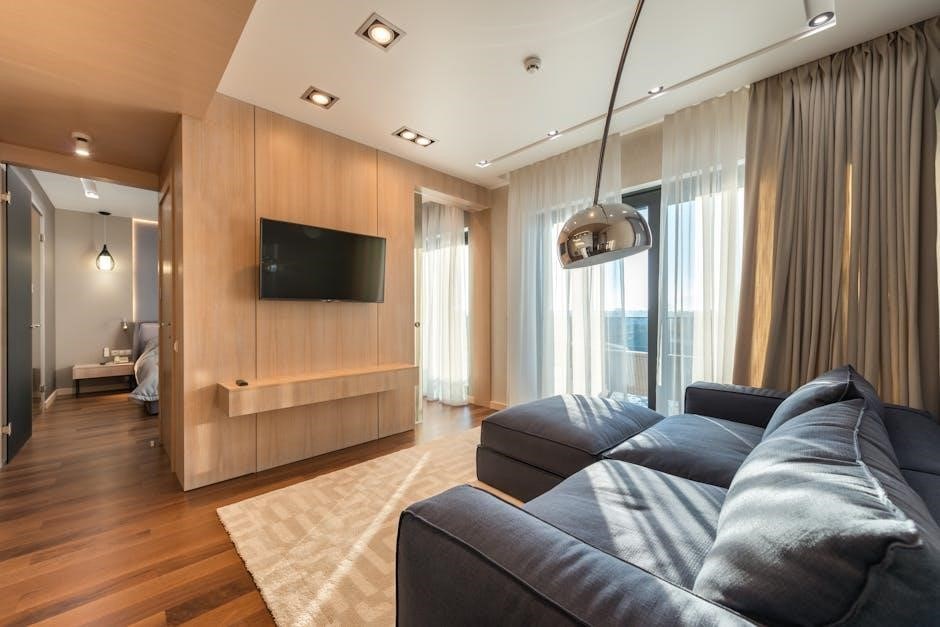
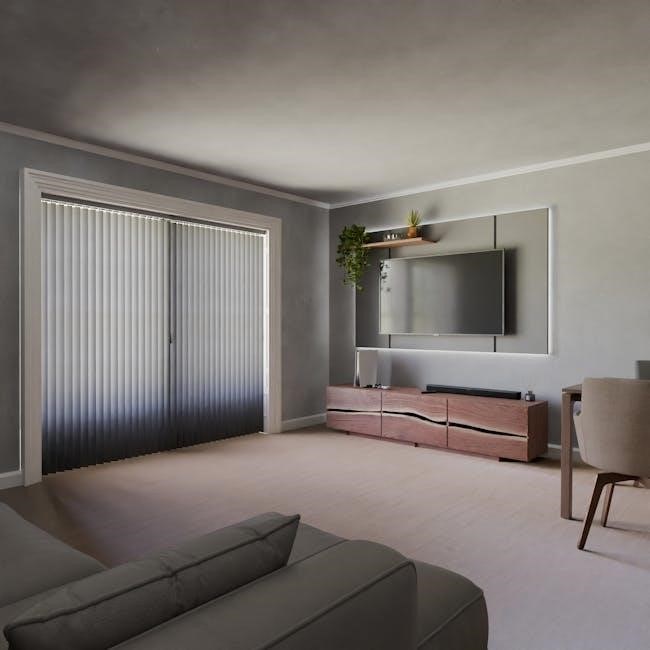
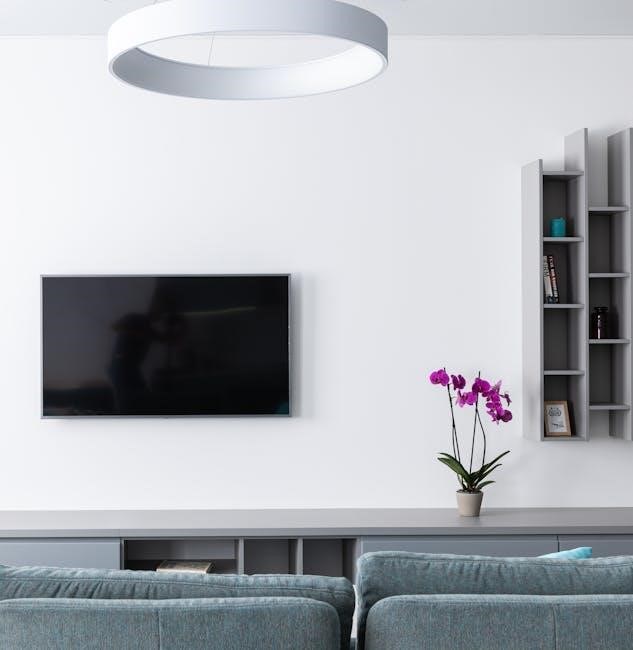
The installation process of Barkan TV mounts is straightforward and can be completed with basic tools. The mounts are designed to fit various screen sizes and weights, ensuring a secure and stable installation. The process typically involves attaching the mount to the wall or ceiling, then snapping the TV onto the bracket. The inner structure of the mount prevents disengagement of the screen, and a built-in mechanism allows for adjustment of the screen. The mounts also feature a telescopic mechanism for height adjustment and a patented mechanism to fit various screen types. The instructions provided with the mount are comprehensive and include diagrams to help guide the user through the installation process. With careful planning and attention to detail, the installation process can be completed quickly and easily, allowing users to enjoy their TV from the optimal viewing position. The mounts are also designed to hold the cables together, keeping the installation neat and organized.
Key Features of Barkan TV Mounts
Features include full motion, rotation, and swivel options for optimal viewing angles always available.
Compatibility with Various Screen Sizes and Weights
The Barkan TV mounts are designed to be compatible with a wide range of screen sizes and weights, making them a versatile option for many different types of TVs. According to the specifications, the full motion TV mount can fit flat or curved screens with sizes ranging from 13 to 65 inches and weights up to 88 pounds. The mount is also designed to fit TVs with VESA standard mounting hole patterns, including 75×75, 100×100, 100×200, 200×100, 200×200, 300×300, 300×400, 400×200, 400×300, and 400×400 mm, as well as non-VESA mounts up to 400×400 mm. This wide range of compatibility makes the Barkan TV mount a great option for many different types of TVs, and ensures that it can be used with a variety of different screen sizes and weights. The mount’s compatibility with different screen sizes and weights is due to its sturdy and durable design, which allows it to support a wide range of TVs. Overall, the Barkan TV mount’s compatibility with various screen sizes and weights makes it a great option for many different users.
Technical Specifications of Barkan TV Mounts
Technical details include VESA standards and weight capacity for optimal installation always using.
VESA Standard and Non-VESA Compatibility
The Barkan TV mounts are designed to be compatible with a wide range of VESA standards, including 75×75, 100×100, 100×200, 200×100, 200×200, 300×300, 300×400, 400×200, 400×300, and 400×400 mm. This ensures that the mount can accommodate various screen sizes and weights, providing a secure and stable installation. Additionally, the mounts are also compatible with non-VESA screens up to 400×400 mm, making them a versatile option for different types of TVs. The VESA standard refers to the pattern of mounting holes on the back of the TV, and the Barkan mounts are designed to fit these holes perfectly, providing a snug and secure fit. This compatibility ensures that the TV is properly mounted and can be adjusted to the desired viewing angle. The mounts also come with a built-in mechanism to adjust the screen, allowing for easy positioning and leveling. Overall, the VESA standard and non-VESA compatibility of the Barkan TV mounts make them a reliable and convenient option for TV installation. The mounts are designed to provide a safe and secure mounting solution for various types of TVs.
Assembly and Installation of Barkan TV Mounts
Installation requires careful planning and attention to detail using provided hardware and instructions always.
Step-by-Step Guide to Mounting the TV
To mount the TV, first gather all the necessary hardware and tools, and then carefully follow the instructions provided. The process typically begins with attaching the mounting bracket to the back of the TV, making sure it is securely fastened. Next, locate the wall studs and mark the spot where the mount will be installed, taking into account the desired height and viewing angle. Drill pilot holes and screw the mount into place, ensuring it is level and plumb. After that, hang the TV on the mount and adjust as needed to achieve the perfect position. The instructions may vary slightly depending on the specific model and type of mount, so it is essential to read and follow them carefully. By doing so, you can ensure a safe and successful installation, and enjoy your TV from the optimal viewing position. The mount’s design allows for flexibility and adjustability, making it easy to find the perfect spot.
Troubleshooting and Maintenance of Barkan TV Mounts
Regularly check and tighten screws to prevent loosening and ensure stability always using proper tools.
Adjusting the Screen and Cable Management
To adjust the screen, simply loosen the screws that hold it in place and tilt or swivel it to the desired position, then retighten the screws to secure it. The Barkan TV mount also features a built-in cable management system, which allows you to keep your cables organized and hidden from view. This is achieved through a series of clips and ties that can be attached to the mount, keeping your cables tidy and preventing them from getting damaged. By adjusting the screen and managing your cables effectively, you can create a sleek and streamlined entertainment system that is both functional and aesthetically pleasing. The process of adjusting the screen and managing cables is straightforward and requires minimal technical expertise, making it accessible to users of all levels. Additionally, the mount’s design allows for easy access to the cables and screws, making it simple to make any necessary adjustments.